
Master Bathroom Remodel
2020
It's finally time for a makeover of the master bath. I've already updated the kitchen, hallway bathroom, crown molding, baseboards, painted the entire interior - twice!, painted the exterior, new laminate flooring in the front half of the house, new HVAC, a new backyard and the master bedroom/bath is pretty much all that is left. Oh, except the fence later this fall, and two sliding doors. Yes, having a house is a lot of work... and money. But now I should be set for years to come and only have maintenance items to tackle. EASY PEASY, right? (*knock on wood...) Hope so...
The process sounds pretty easy, pick out what you want, hire a contractor and voila, it's done!
Yeah, I wish.
First of all, the process of selecting everything for a bathroom is lengthy. There are many more aspects to it than any other room in the house. Fixtures, lighting, vanity, flooring, shower, niches, toilet, mirrors. Then there is the process of where do you want this light, where do you want the outlets, how high for the niche. Do you want a shower bench, where? how wide, how tall...
Well, you get the idea...
So, here it goes. I'm walking through the bathroom remodel journey.
It's kinda long but goes through material selections, before pictures, demo and the re-build. (in that order so you can scroll down)

And every project starts with an inspiration. I've looked at a ton of pics and this picture had most of the elements for color/texture that I was looking for.
Material selections
Tile

I think I have visited every tile store within a 50 mile radius. Tile can range from $1/foot to $10/foot for porcelain tile. I'm sure it goes much higher than than, but I didn't even look at those tiles.
Funny that I actually found everything I needed at Floor & Decor. Could have saved a lot of time running around, but I had to be sure it was the right tile before making a final decision. And who knew there were so many versions of WHITE!
Tile also looks so different in different lighting and it's so hard to tell in my bedroom against all the golden oak. So I did a lot of tile selection with tile laying all over my house.


The tile I chose for the shower is actually the tile on the floor here. It's a white porcelain 12/24 tile.
At $2.29/foot it's a great price! I was looking at a similar tile that was $8/square foot at bedrosians. Whew, glad this one worked out.


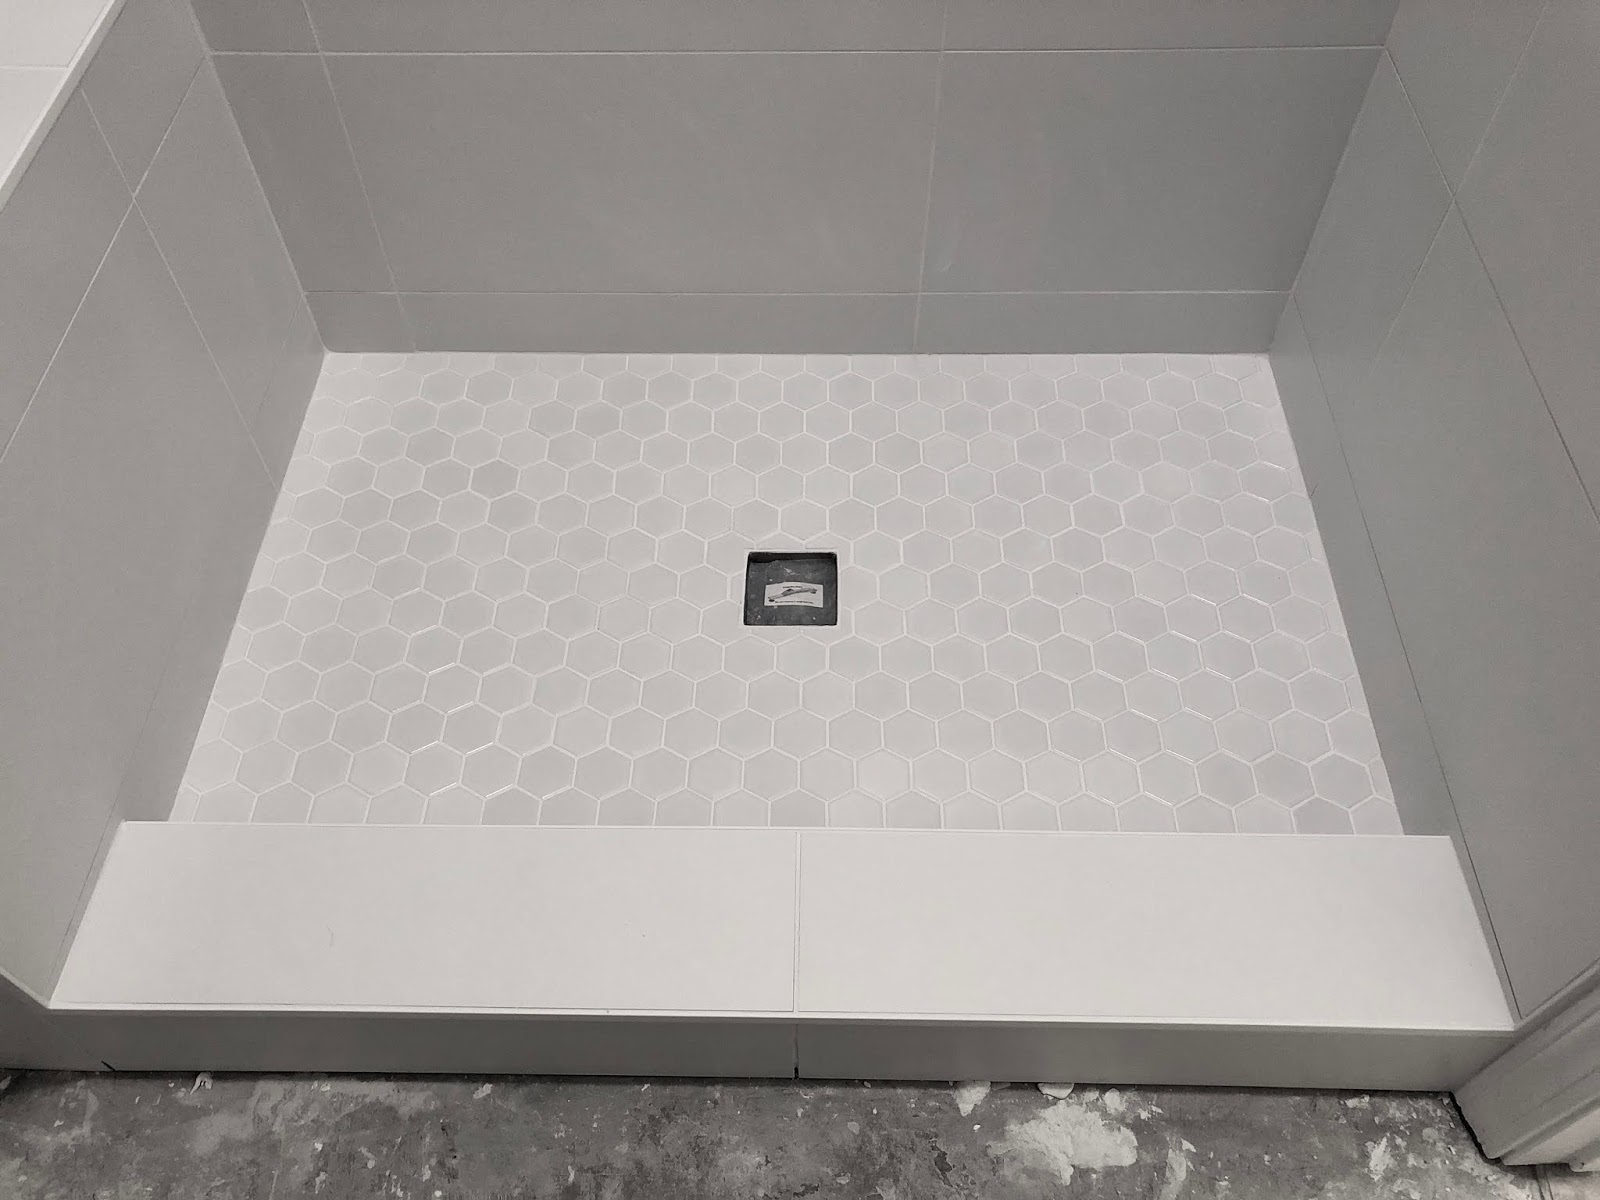
Shower floor will be this white hexagon

The floor tile will be the same as the rest of the house. Crosscut Gray Porcelain 24x24. $1.79/foot

4,000 pounds of tile. Shower and floors. Yikes!
Tub
Signature Hardware Vitka

I made a trip to Ferguson's showroom in Sacramento to look at tubs, showers, toilets, etc.
I selected this tub. It is their brand which is Signature Hardware and a solid/plain white soaking tub.

Toilet
Toto Vespin II

Shower drain
No story here, just a drain. Well, I had to look at 20, but this one I ordered from Amazon.

Fixtures
They are all Moen Caldwell. This is a Lowes exclusive style and I have it for the sinks, shower and tub.

Counter top
Silestone from Planet Granite
I decided to get a remnant since I am replacing my odd size 64" vanity with a standard 60" vanity and this remnant is enough to make the counter top and the backsplash. Yay.


I love the white with a subtle veining.
Vanity
James Martin Palisades 60" vanity in white
These are beautiful vanities. Solid construction with dovetail drawers and soft close hinges. I really wanted a furniture style vanity so the tile goes all the way to the wall.

Light fixtures
Seagull Lighting 2- 3 light fixtures

Before pictures
It's kind of hard to photograph a bathroom since it's a relatively small space, but here it my best shot of each area.

I thought about just painting this and leaving it, but just couldn't do it.
The 1990's called and they want their odd 64" sized vanity back.

Super tiny shower. We now know that the odd wall behind the shower has nothing in it. Just an empty void for no reason. Can't wait for a little more real estate in the shower.

Huge roman tub. This was probably a great idea before we had to conserve all of our water.
It was impressively big, but not realistic.
I love baths, but this takes an enormous amount of water and no jets.

This is really the only pic I have of the ugly tile. When I bought the house, they had just installed it. It's a yellow and gray pattern of some sort. Never liked it. Been fun to take it out.

The ceiling with its many different angles.
That soffit with it's downlighting will be the first to go!
It's hard to tell from this pic, but even the soffit had another angle on each end, just for fun.
It will be great to open this all up and expand the length of the shower.
DEMO DAY!!
Well, it was really more like demo week. I took a week off of work and spent that time removing carpet, tile and bathroom walls. Although I have a contractor, I have to be mindful of a budget and decided to tackle a lot of demo myself. I also recruited Chris's help for some of the heavy lifting and shower removal, which was a beast!


Chris took out all of his aggressions on the tub surround.

Soffit did not contain anything other than the electrical for the lighting. So, it's free to go too.

The ugly yellow tile is gone! My arms are killing me from slamming it with a sledgehammer. But one tile at a time and it's gone. Already a big improvement just looking at the concrete.

I didn't get any pictures of the total destruction of the shower walls. What a hard job. Chris really used his manpower on that one. The tiles came off fairly easily, but they were set on about an inch thick mortar layer that had chicken wire in it. So, it was hard to remove and VERY heavy. So glad that is all gone!

Weird void behind the shower head is no more.

RIP Vanity
Soffit is gone!
One of the funnest parts was trying to find places to put all of the debris. We utilized dumpsters around town with a little here and a little there and I also took a full load to the dump.
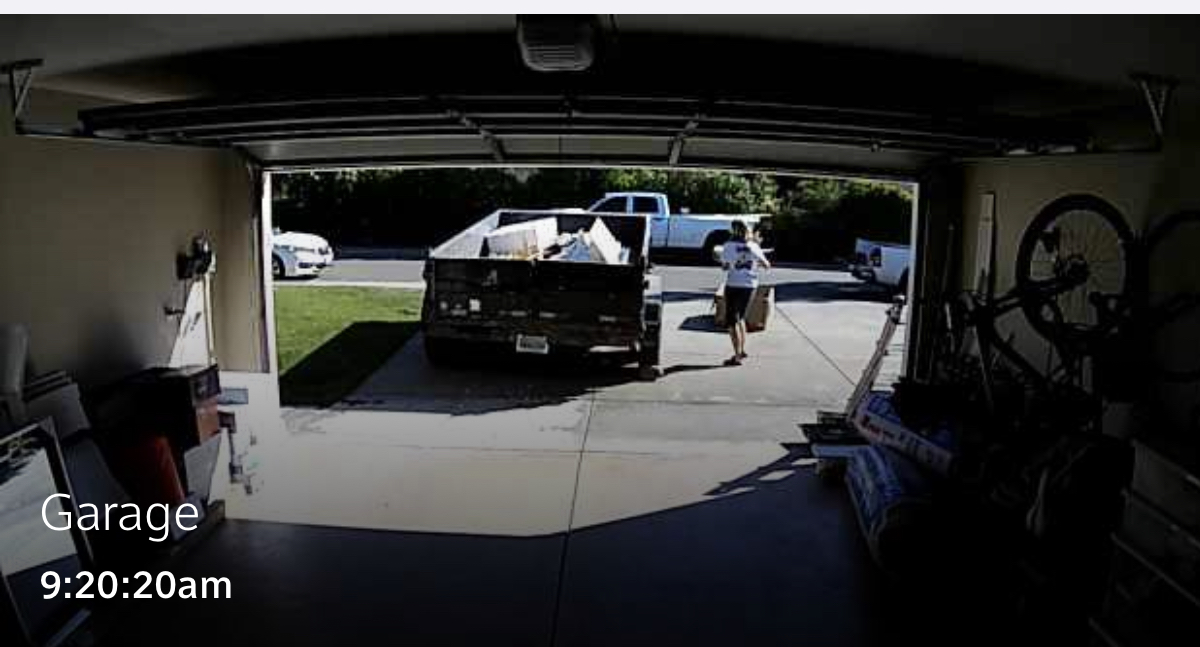
When the contractor arrived with his trailer for the final demo day of the soffit, bathtub and vanity, I spent some time loading the rest of our shower demo debris in the trailer too. (The security camera caught me)
The Rebuild
Time to put it all back together and make it pretty :-)
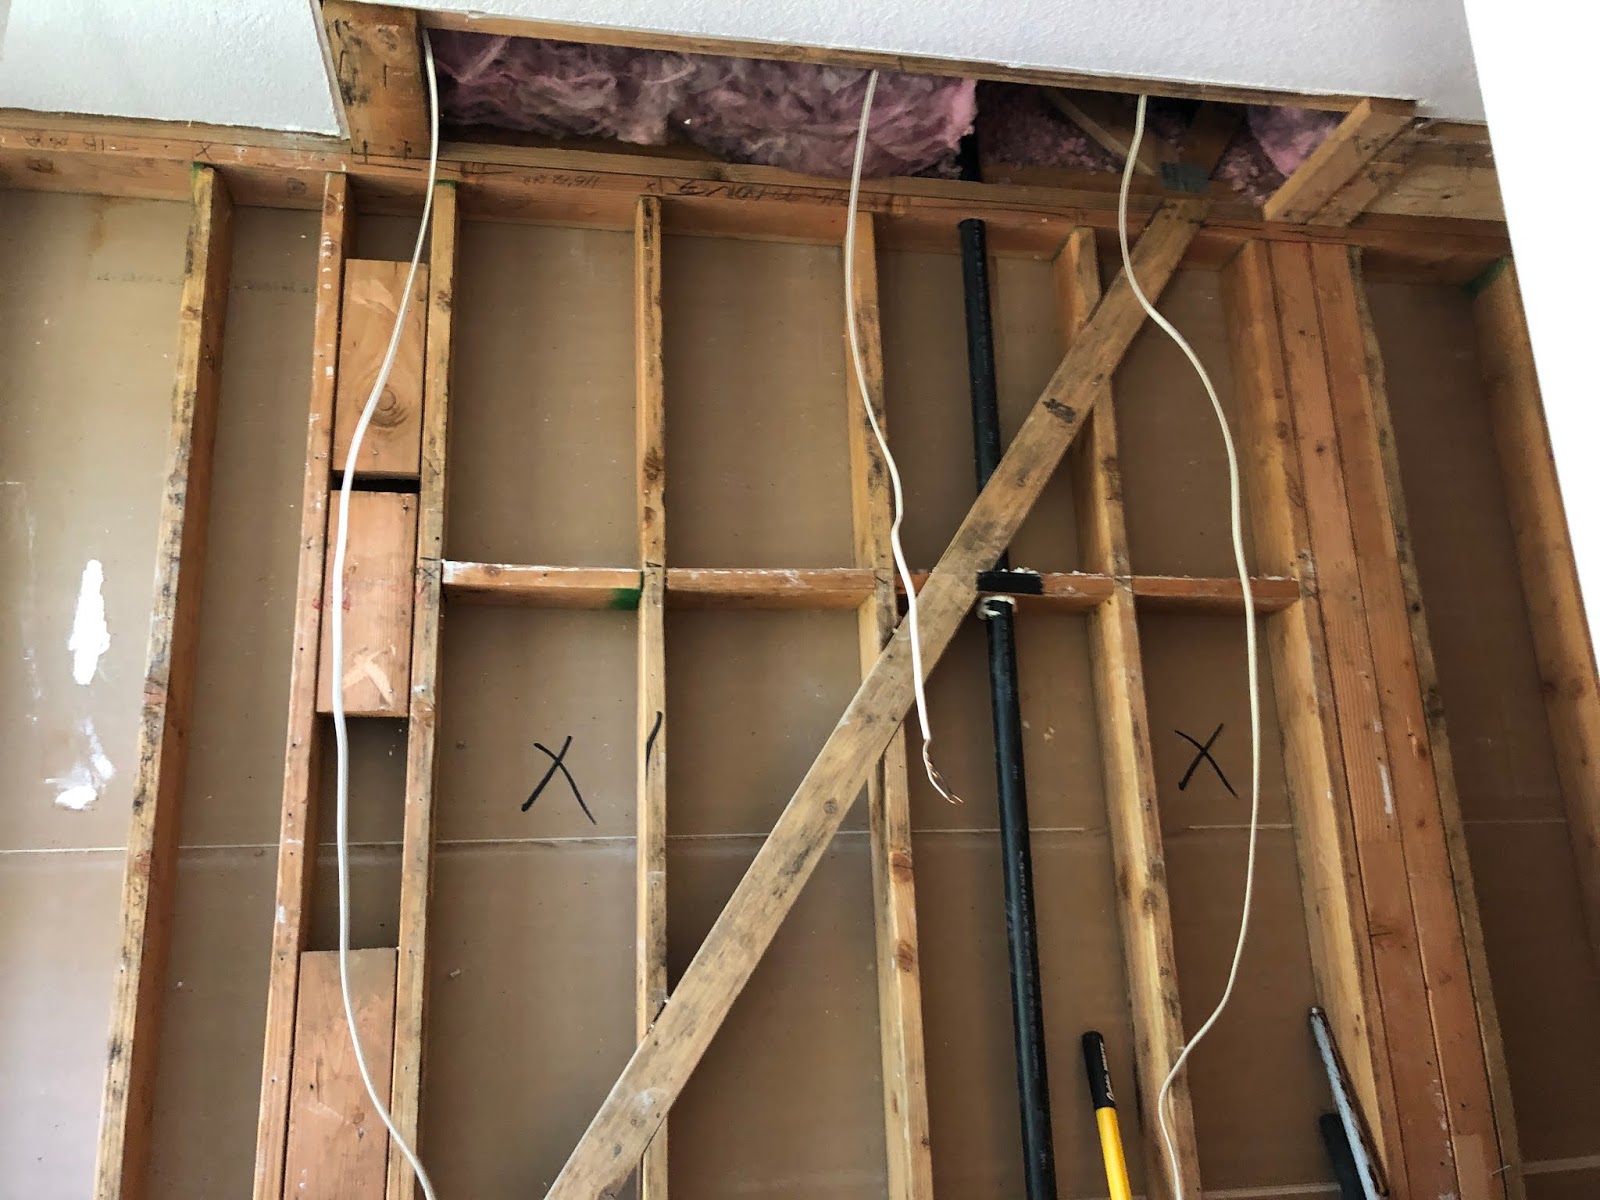
The first day of the rebuild is by far the hardest. Now that it's all torn apart, where do you want everything? So many decisions without having anything in place for reference. First day was lighting, outlets, shower walls, overhead tub lights, shower drain, niches and shower bench.
Fingers crossed all of the placement via math drawn on the wall works out... ha!
I am also having them insulate all of the interior walls. This bathroom is in the center of the house. The walls seem paper thin as you can hear someone brushing their teeth in the bathroom. So, I'm having them insulate every inch of it that they can for soundproofing. I also removed two walls of drywall in the water closet to also insulate it for sound. Privacy is a good thing.

Floor drain was moved, the shower outline was done and the seat was built. I'm hoping placing the seat under the shower head was the right decision.... Too late to change it now. Visually, it will be hidden by the vanity and the shower will still appear large and open. The niches will go on the right wall so that you can't see what is in them unless you are in the shower. Time to pour concrete and tomorrow they will hot mop.

The drain was moved to be centered in the floor and then filled in the big void with concrete.

I never knew something could smell so bad. Wow.
The hot mop process is no joke. They did this while I was at work and I came home to the lovely smell of freshly paved pavement. YUK.

As we open walls, I'm insulating ALL of the walls. This bathroom sits right in the middle of the house and you can hear EVERYTHING from the living room. Hopefully the insulation will help to sound proof things a bit and bathroom activities can stay in the bathroom.

Tub install #2 was a success. First tub had a fiberglass defect and was damaged when trying to squeeze it into this spot. I didn't watch this one go in, but it's here and looks great. Replacing the roman tub was an easy decision. This is a deep, but more narrow soaking tub. I won't feel so guilty about wasting so much water with a bath.
Drywall day!!

Greenboard in the shower

Bathtub alcove

The double vanity will go here. Hoping all the measurements for sinks, outlets and lights work out when it's actually placed here... So nice to see the wall without the soffit.
SHOWER TILE

Chicken wire over the tar paper and getting ready for morter.


Concrete on the walls. This is a skill like I've never seen.

He sculpted the shower pan, step and seat.


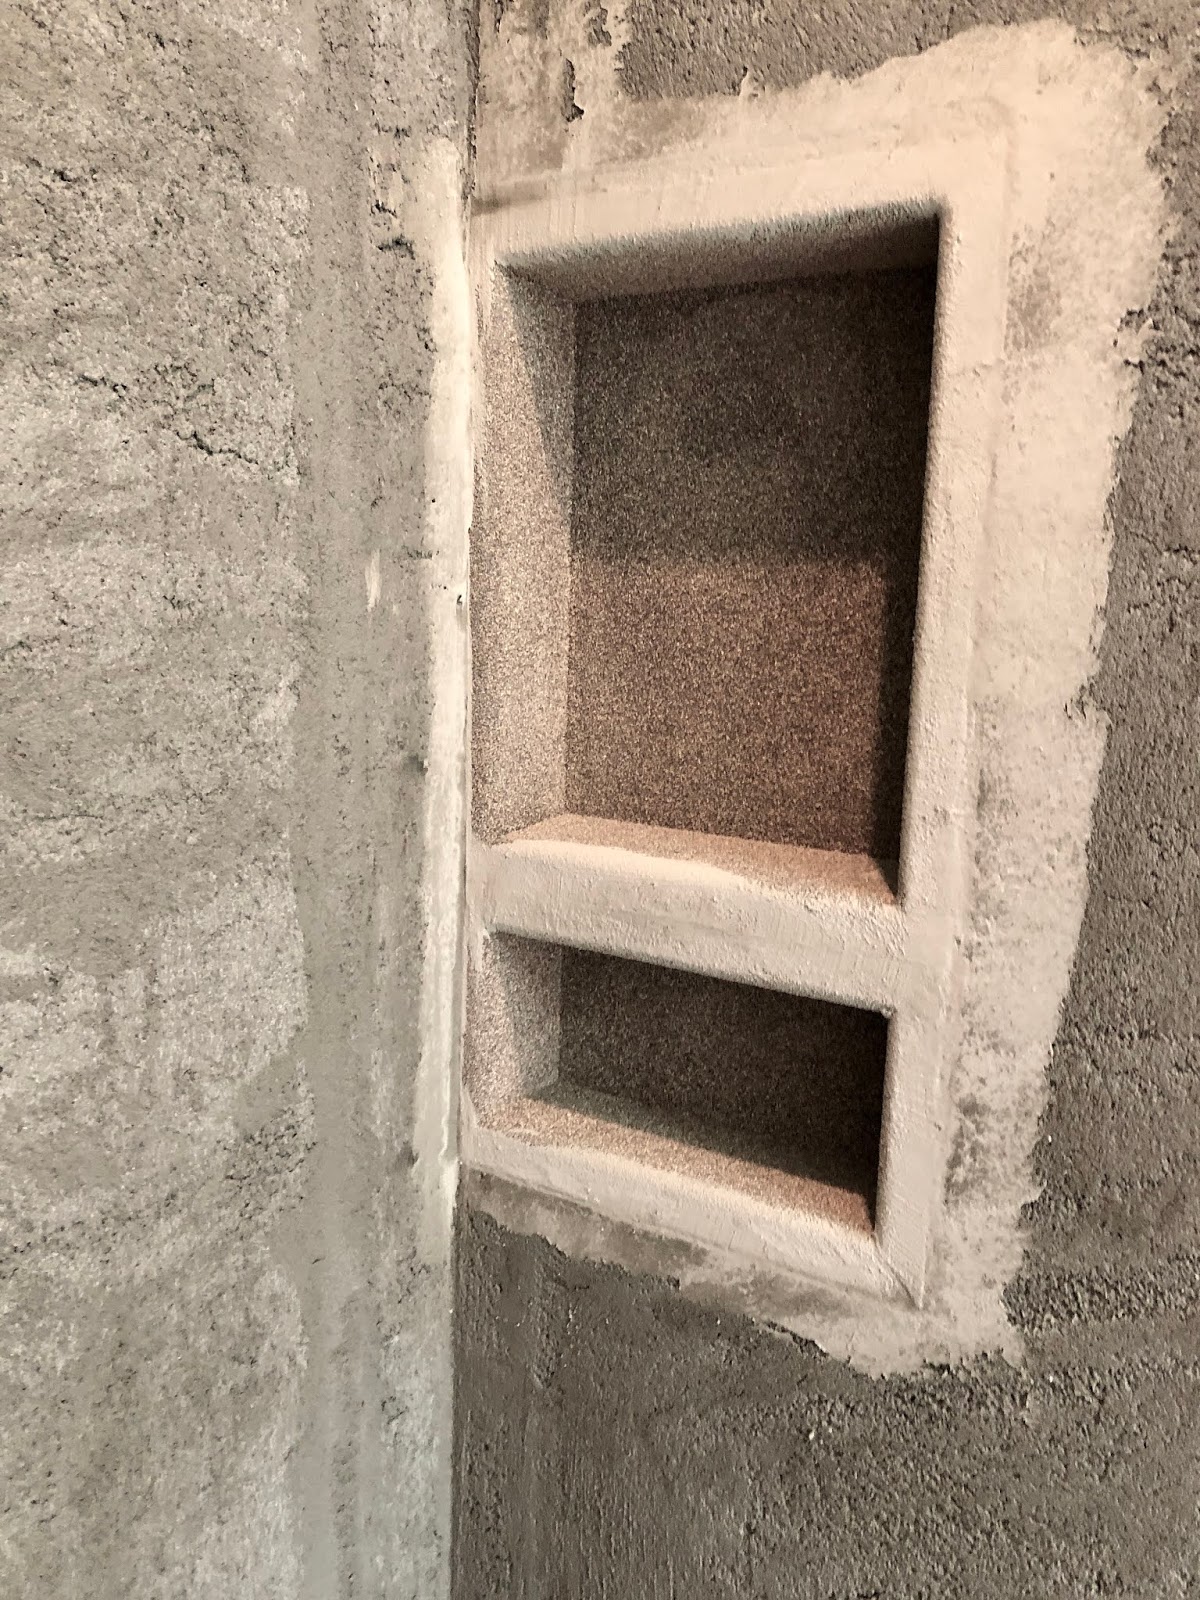
Alcoves

Shower pan!


Next day was tile. Starting to look like a shower!


Bathtub Tile


Wall Texture
Once the tile was all done. The walls were prepped and textured.


Now it's ready for prime and paint!
I spent the better part of two days painting the ceiling and the rest of the bathroom.
Just in time for Andrew to come back to set tile in the back of the house.
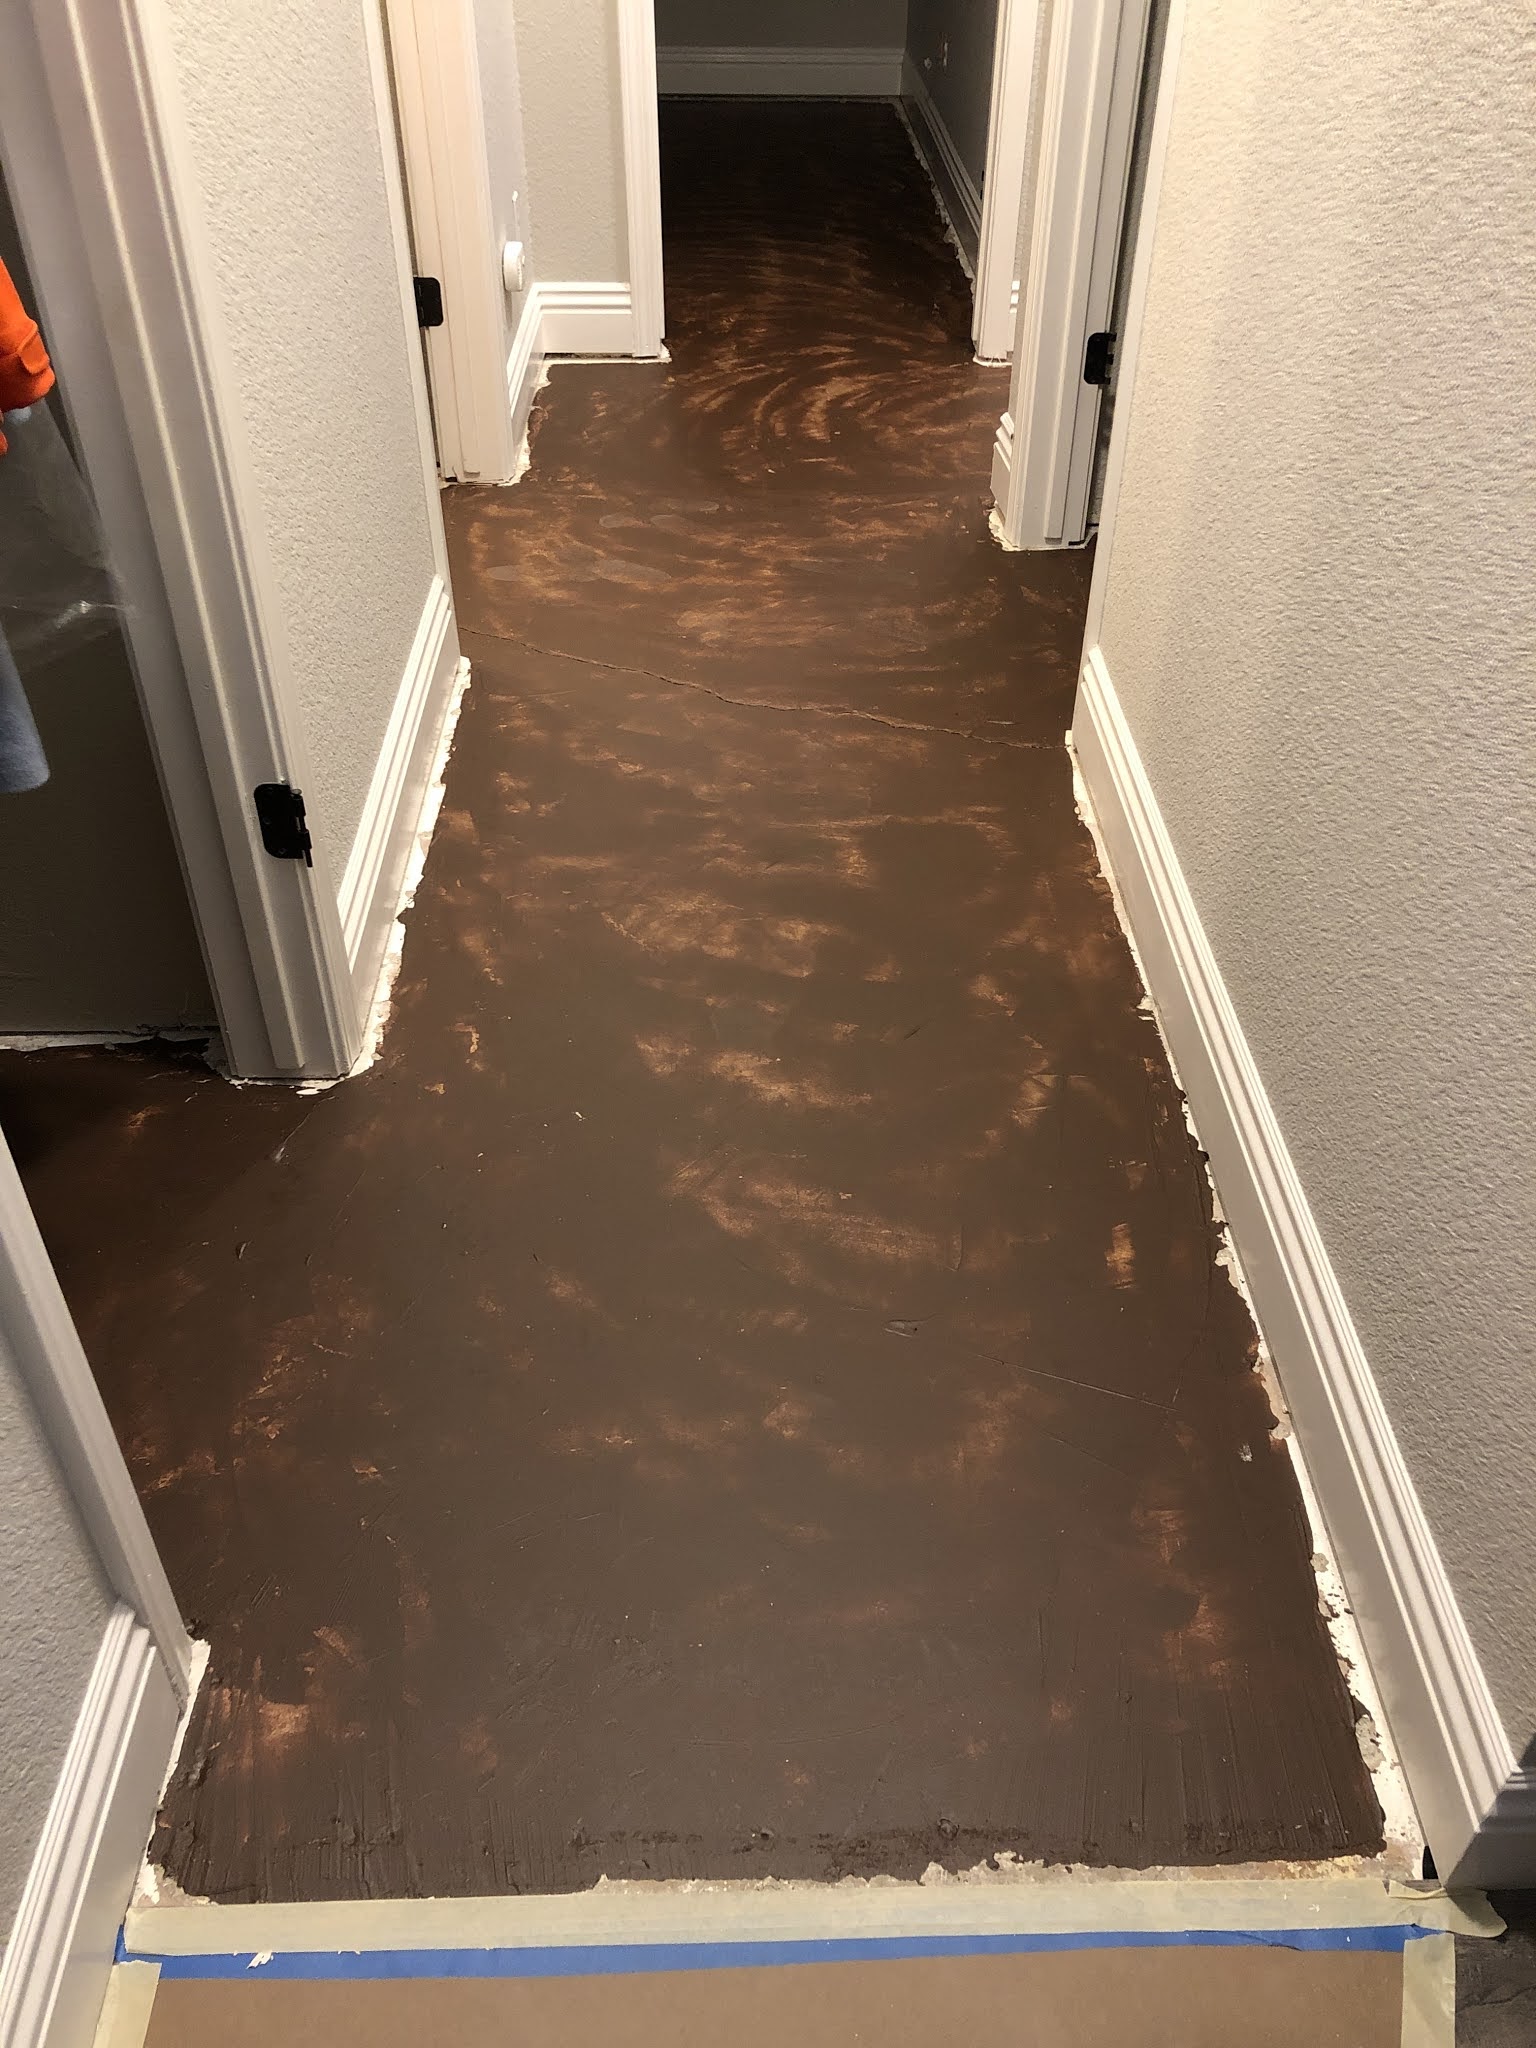
Underlayment is spread on the flooring so that tiles don't crack if the foundation develops cracks.

The first run of tile down the hallway! Let the rebuild begin!

Moving from the hallway to the bedroom and they will finish in the master bath.


Master bedroom and closet are done

All grouted and WOW! Looks great! There is a gap under the baseboards that we will be fixing with a 1" trim piece.

Laundry room

Shower is all ready for glass

Camerado Glass installed the frameless door

WOW!! This turned out amazing! I love the glass.

The flooring was also switched out in the hallway bathroom. No more dark brown tile. The vanity was painted and replaced the large wood mirror with a round one. Now that everything has been reinstalled, it looks like an all new bathroom!

The vanity has been installed and measured. Silestone countertops are being fabricated.
We hung the mirror and although the contractor installed the vanity lights, we ended up needing to take them down and re-install. It's all in the details and they were just not right. Thankfully Chris knew just what to do and they are perfect now.
Once the countertops are in, the sinks and drains will get hooked and this project will be done...
Comments
Post a Comment