The building of the walls
This is probably one of the craziest things I've ever taken on. Sure I've moved dirt, planted lawns, trees, shrubs, spread 20+ yards of cobble and/or bark, sprinkler systems, etc., but never have I thought about building a retaining wall. Let alone three!! This project involved more than 180 linear feet of retaining wall. I got an estimate for a small section of the one short wall for over $4k and I knew I was going to take this one on myself. How hard could it be?
I watched countless youtube videos and read other DIY blogs. It's really not difficult, just very labor intensive. I went through several trips to Home Depot, Lowes and Landscape supply to figure out which blocks to use and how high to build it.
This picture is actually what inspired me to terrace the sloped portion of the yard that had previously been hidden by the privacy fence. I don't like this rock, but the idea is what I was looking for.
This is the "before" of the slope.
And this is the "before"of the big hill.
I started by marking with string where I wanted the walls to be.
Then started digging a trench.
I'm smiling, but this is hard work. The clay soil here is like concrete. I just kept chipping away at it.
It's also great anger management. You can swing that pick as hard as you possibly can and get some aggression out. Only bad part is when you hit a rock, which there are lots of. That sure sends zingers up your arms!
There are also some fun obstacles like tree stumps in the way...
Some of the best money I ever spent was paying a few landscape laborers to come and move the dirt that once was the hill. OMG, they worked so hard. This ground really is like concrete.
But layer by layer they chipped away at it.
And they kept going and going. One layer of dirt at a time.
I finally made a decision on the blocks. Large Basalite blocks in tan. These suckers weigh 60 pounds each. Oh, this is going to be fun!
I had them delivered. 13 pallets in all. WOW!
These were delivered on my birthday. Happy Birthday to me..... I think.
They were set all in front of the house and in the driveway. I hope the neighbors don't mind too much. It may take me a while.
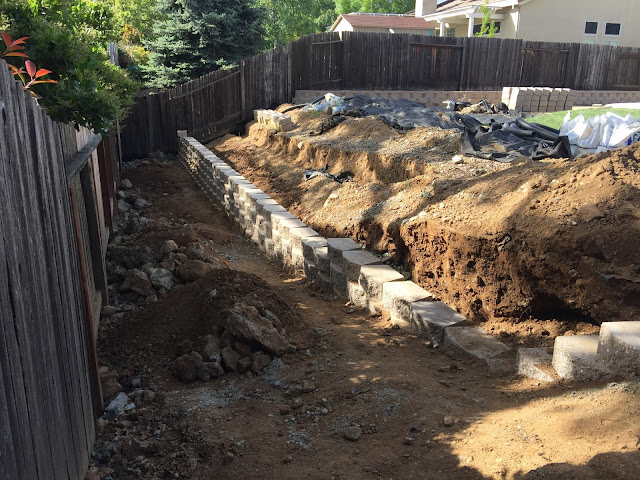
I decided I wanted to start on the wall that would go down the side of the house and shore up the hill that I had removed. I dug the trench, made sure it was level and started away with the layers of rock and sand. Again, I'm totally winging it here.
The first few blocks are going in!!!
My Dad and Michael got in on the action too. I'm using a level to check each block and then a 3' level to make sure several are all level as I go down the rows.
I just couldn't stand not knowing how it would look to have another row, so I quickly put another couple of layers on even though I wasn't finished with the bottom. LOVE IT!
This was not in the original plan, but I'm glad I did this. I decided to kick out an area to create a larger planter bed for an ornamental tree or large shrub. Totally not in the plan and had to just measure and place blocks on the fly.
But it worked out. I like this detail. It would have been a really long straight wall without it.
3 rows and a top cap. Perfect height for sitting on too. BONUS!
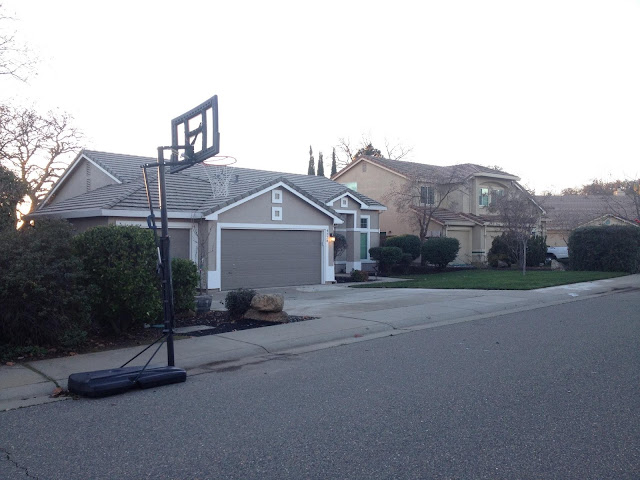
There were still a TON of blocks in my front yard. I received this picture via text over Christmas break and wondered who was stalking me since they had a pic of my house without all of the blocks in front. It hadn't occurred to me that someone would actually move the blocks to the backyard for me. Forrest and Chris moved pallet after pallet, block by block to the backyard and re-stacked them. OMG. I would never have thought they would do this. I was visiting family in Chico and it just about made me cry. What a sweet gesture. Definitely hard work. I didn't even know what to say. Sooooooo appreciative.
Now that the side wall is complete, time to continue working on the terraced wall. These are going to involve a little more engineering as they are pretty tall, almost 4' on the bottom and 3' on the top row.
But little by little, blocks start going in.
Blocks and more blocks. The bottom row is really the hardest as that is where all the leveling happens. I would lay 5-6 blocks before work and a few more in the evenings. Little by little...
The magic really happens when the second and third layers start going on and then you can backfill behind it. I also installed a french drain, so hopefully even in in heavy rains, these won't move for a very, very long time.
Starting to show some shape!
Getting taller!
And taller!
I've moved a ton of these myself, but Chris would also help when there was a lot to move. So thankful for him. They are very heavy and I can only pick up one at a time, place a block, then go get another. It's slow going and when the other layers started going on, it moved quickly when we were both bringing blocks over.
Oh happy day.
The end of the top row is in...
Let the second row begin!
Last bottom block I have to do!
Time to celebrate!
Things move faster from here. Once that bottom row is in, stacking blocks, installing the drain and backfill all happen much faster.
And here they are about 90% complete.
I LOVE how it's turning out. All I had was a vision in my head and the will to make this happen. I brought in some muscle (Chris and Forrest) who helped move blocks and Chris dug out some enormous rocks. I can't believe there are 3 big retaining walls in my yard now, what a huge difference it makes!
Now I'm on to start moving the several HUGE piles of dirt and level the yard.


Comments
Post a Comment